
You Built a WHAT??
 Many years ago (early 2000’s), I built a MAME arcade machine cabinet. It was an incredibly fun and challenging project, and the final machine was so much fun to play. Even today, I have an occasional conversation where I bring it up, which usually goes something like this:
Me: I built an arcade machine.
Someone: Oh… so you like … bought one from an old arcade … ????
Me: No, I built it from from scratch.
Someone: Cool… so what game did you build?
Me: All of them.
Someone: Wait… what the..?
While sadly I sold the machine back in 2011, this project still remains one of my favorite that I have ever done. So, I’ve written as series of blog posts (links below) to detail how I designed and built it. Enjoy!
Why?
I grew up in the 80’s, the era of hanging out in malls with friends and having fun dropping quarters in arcades.
In early 2000, I was made aware of a PC program called MAME, an acronym for Multiple Arcade Machine Emulator. Essentially, it allowed you to run any of the classic arcade games like PacMan, Donkey Kong, DigDug, Crystal Castles, Punch-Out!, Tempest, on a standard PC.
You could play any of these classic games using your keyboard and mouse, but a large part of playing these games was the physical arcade experience! You need the cabinet, authentic arcade buttons and joystick. In essence I didn’t end up building an arcade machine, I built a nostalgic time machine.
1 of 6 Parts – Continue Reading…
Below you will find 5 additional full-length blog articles that go into depth on how I built this MAME arcade cabinet. I hope you enjoy reading as much as I enjoyed making it.

MAME – Design and Plans
Any time I start a new project, I always love going out and doing research. A huge win was discovering the Build Your Own Arcade Controls website, dedicated to people who had already built MAME cabinets, and resources with how to find anything you need to...

MAME – Cabinet Cutting
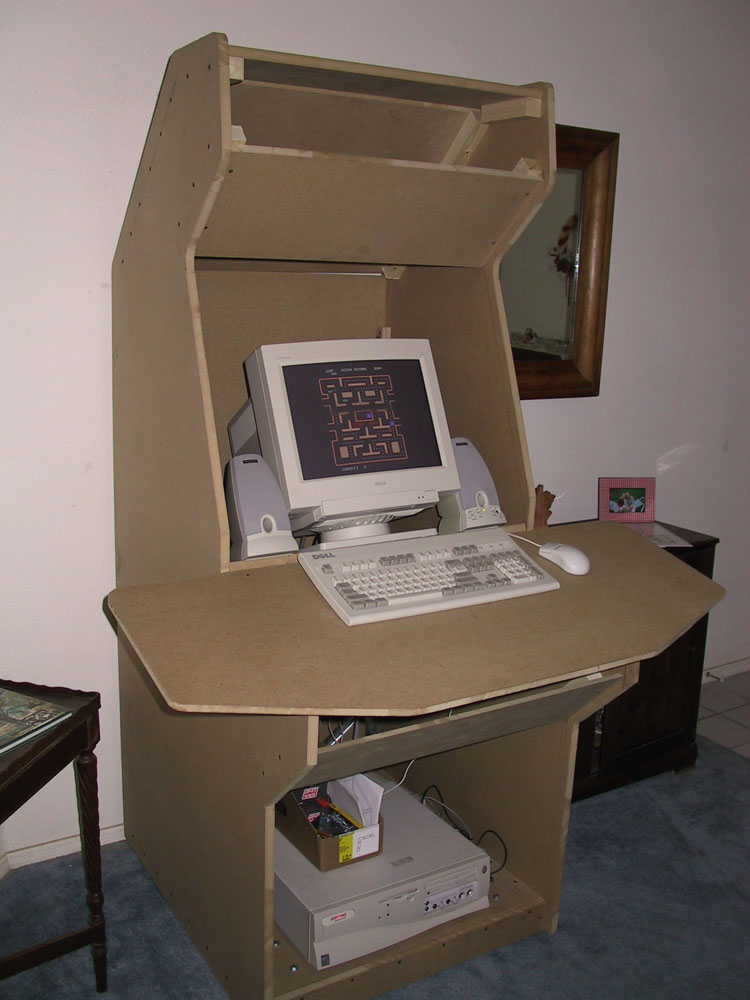
Measuring it Out First step was to get the wood. I got 2 pieces of 3/4" MDF 4x8' which would be used mostly for the sides of the cabinet, the floorboards, and other parts that needed thicker support. MDF is "Medium Density Fiberboard" which is one grade higher than...
MAME – Cabinet Assembly
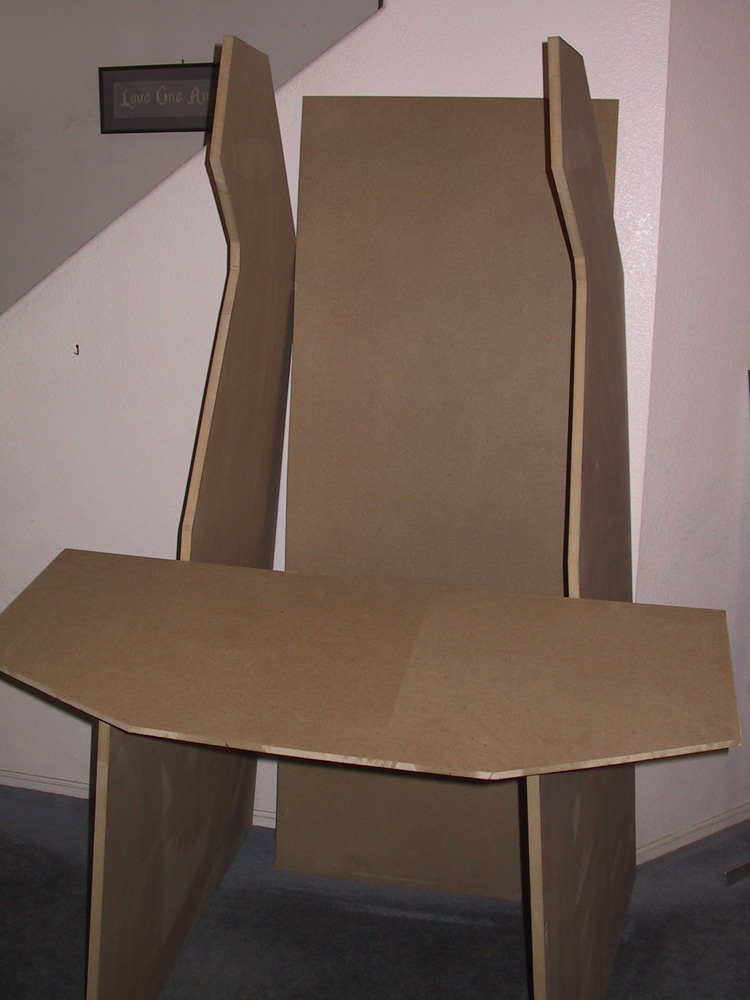
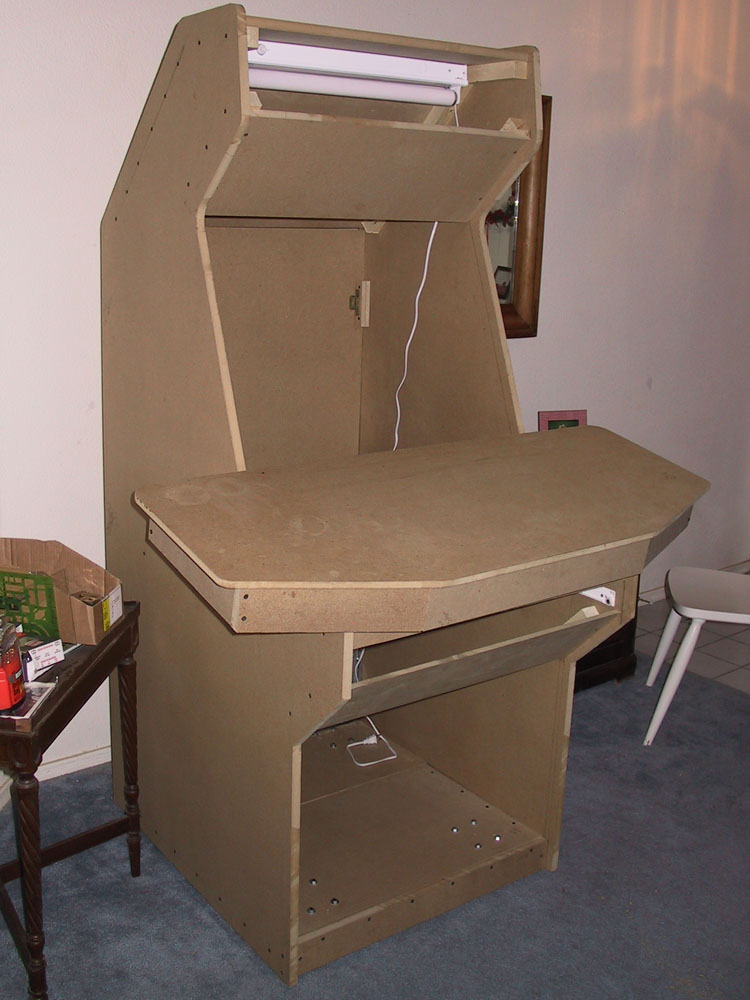
First order of business was to measure out and mark where all of the 2x2 supports would be attached. I figured that the kickboard was 3" and the casters I got should be mounted 2 1/4" recessed. So I measured in 2 1/4" and clamped in the first 2x2 support. This was...

MAME – Control Panel
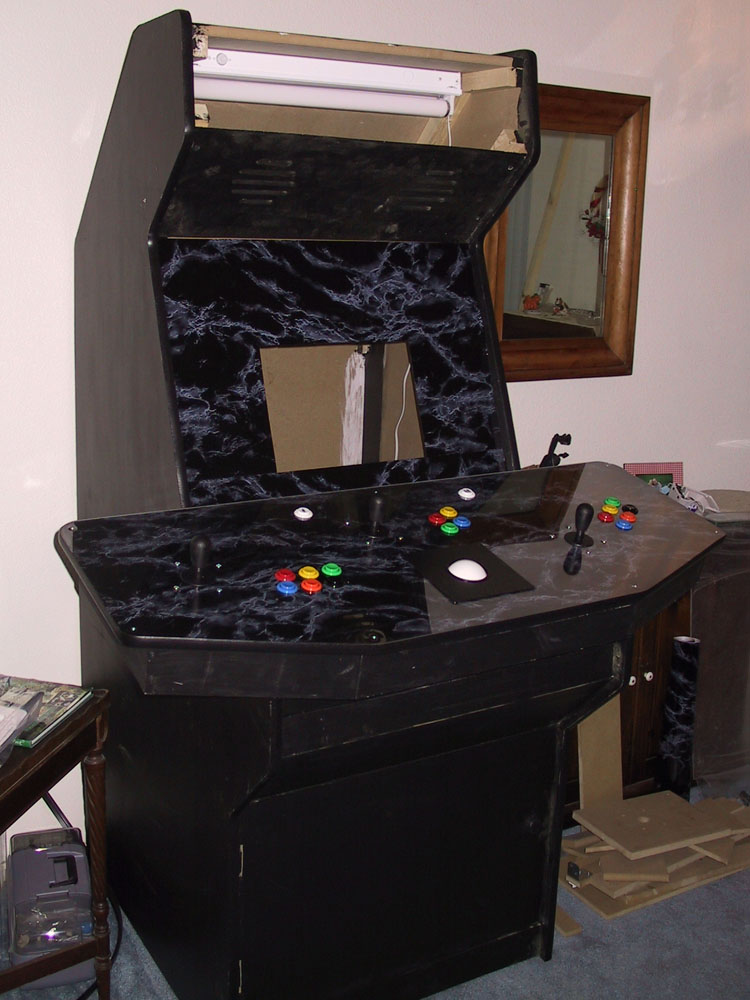
The control panel is one of the core aesthetic reasons I decided to make a cabinet. The control panel is your physical interface to the games; the joysticks, trackball and buttons. My design for the control panel was so that it could be easily removed and...
MAME – Finishing Touches
First Computer System The first computer I put in was an old Pentium system I had sitting around. Specs: Compaq Pentium 166MMX with onboard video 64MB of RAM SBLive soundcard 2x CD-ROM 17" monitor Not a powerhorse by any means, but it sure does play a mean game of...
TLDR; Image Gallery
mame-final-08-20-01
MDF freshly cut

mame-final-08-21-01
Rough assembly
mame-final-08-29-01
Back door and control panel completed
mame-final-08-23-01
Giving it a dry run, for fun.

mame-paint-cabinetfront
First coat of black paint on the cabinet

mame-paint-cabinetback
Letting the back door dry.

mame-final-09-01-01
The cabinet and control panel painted

mame-final-09-09-01
Monitor bezel in place
mame-final-09-22-01
Control Panel completed

mame-final-09-23-01
Final cabinet with 17″ monitor bezel
mame-final-10-10-01
Coin door added.

mame-final-rear
Back door knob and ventilation fan added.

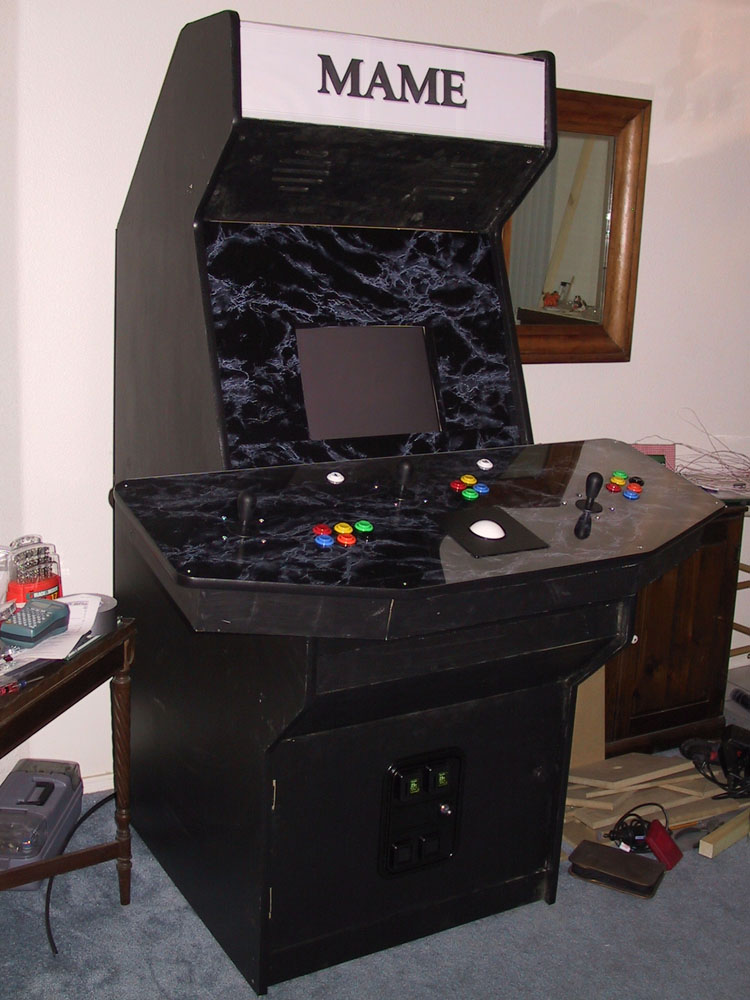
mame-final
Final cabinet
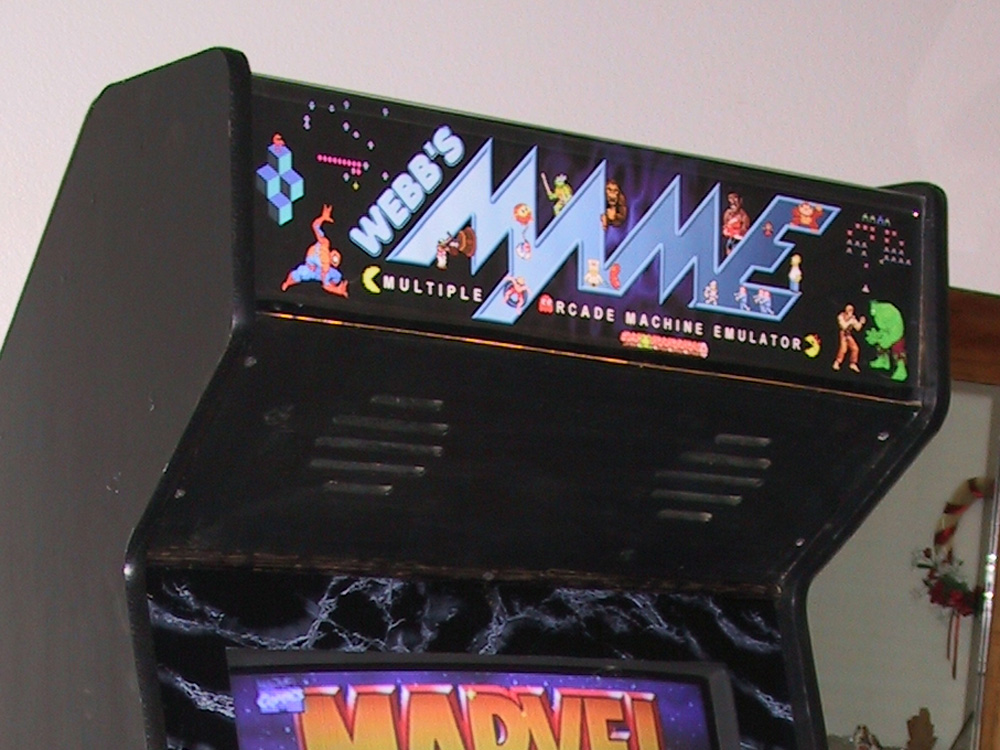
mame-marquee-cabinetfinal
Final Marquee

mame-marquee-closeup
Oh yeah, it’s all mine to play!

mame-final-10-10-01-webb
A proud moment during the process.