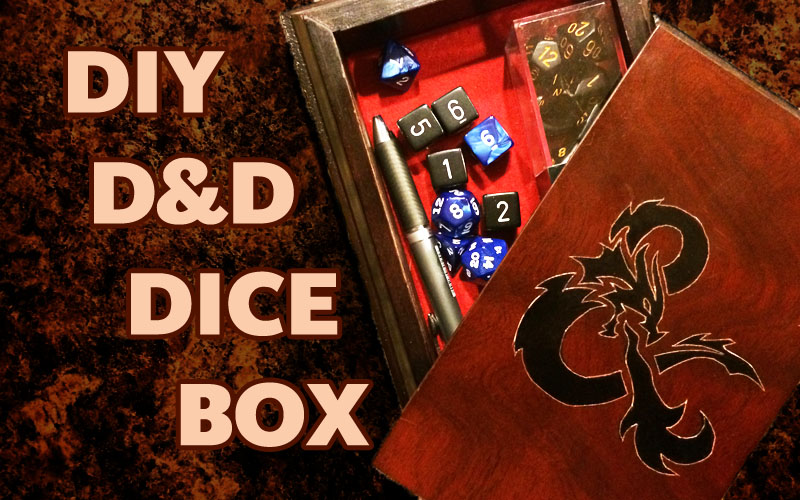
Why do my dice seem to enjoy landing on the floor? Despite how careful I am, they seem to have a mind of their own. When they do run amok, it’s always an awkward situation… do you try to read the roll from the floor? Or do you re-roll on the table? Or better yet, do you take a sneak peek at the roll on the floor, then decide if you want to try to re-roll it if it’s bad? It doesn’t matter, they’re all a distraction from gameplay. That’s why I realized I needed a dice box!
Finding the Box
Yeah, you can buy a premade dice box on Etsy. I’m frugal though, and I enjoy a good DIY project too. So, I stopped by my local ARC Thrift store here in Louisville, CO looking for a good deal. I happened across a nice finished wooden box that was for a game of dominoes. For $6.00, I couldn’t resist. I then walked next door to the Hobby Lobby and picked up a piece of adhesive-backed red felt for $0.99. A little measuring and a little cutting later, the red felt was now the soft new floor of the box. My dice rolls were now smooth, controlled, and a little bit classier.

Closeup of the felt liner.
Stenciling the Logo
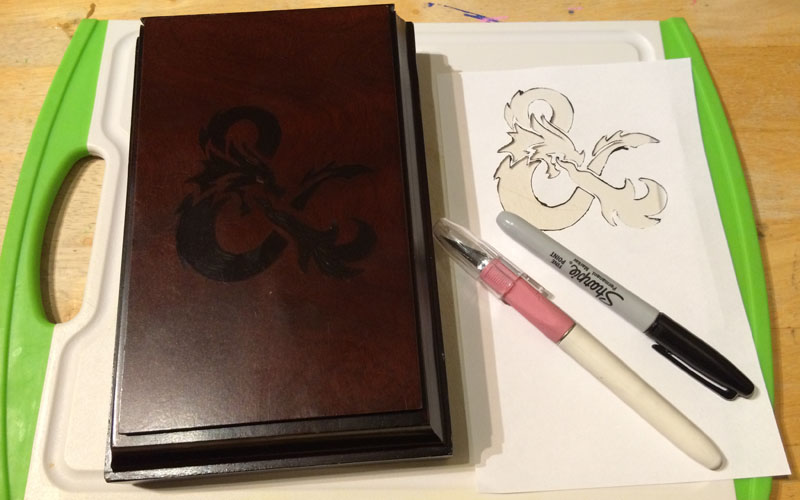
The box didn’t feel “done” yet though. It still needed a little extra D&D “umpf” to it. So, I Googled “D&D Logo” and downloaded the iconic ampersand D&D logo. Using Photoshop I resized it to fit the lid of the 3.5″ wide box, and printed it out. Using an Exacto blade, I carefully cut out the logo. Holding the newly-cut template carefully onto the lid of the box, I used a Sharpie to trace the shape. There were many fine details, so making sure the paper didn’t slide out while I was inking the outline was important. In retrospect, I should have used cardstock for the template, not regular paper.

The D&D ampersand logo template
When I was done, I stood back and looked… not bad. You could see the logo in black pretty well, but it didn’t *pop*. What else could I do? Oh no! I had a crazy idea! What if I traced it with the Exacto blade? If I slip, it could be a disaster! What if it looked horrible and I had to scrap the whole box? Before I could let crippling self-doubt kick in… I just started doing it. Take that… over-analysis-paralysis!
Finished stenciling the logo with the Sharpie
Etching the Outline
Well, a steady and slow hand was worth it. I had to be very careful to keep the blade perfectly perpendicular otherwise the wood grain could catch the blade and cause it to wander. I had a few close calls with drifting, but it mostly worked well. The blade was strong enough to break through the enamel finish and expose a fine line of lighter wood underneath. It was just what this logo needed to get the outline to pop. Bam!
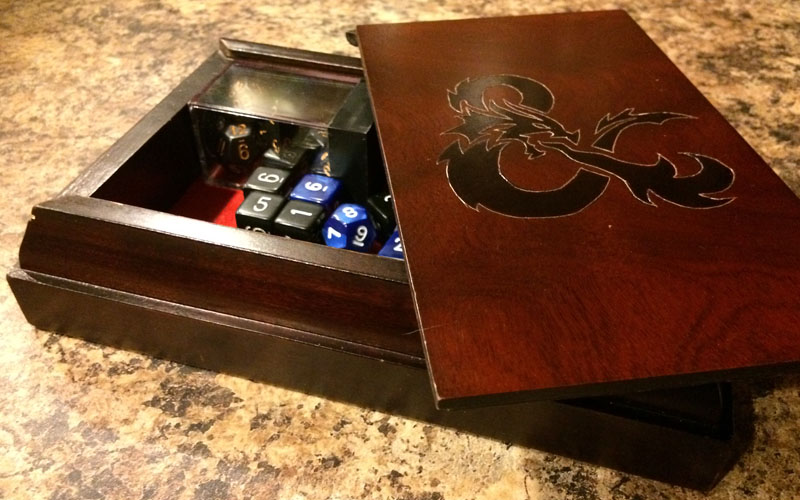
Finished outlining with the Exacto knife
I now have a fun dice box that’s as functional as it is cool looking, and I’m excited to bring with me to a game… for the whopping cost of $7.00.